Auditoria must access the vendor invoices for all unpaid invoices in Oracle NetSuite before a SmartFlow is run to avoid having the invoices uploaded manually. When an Auditoria SmartFlow skill is enabled for the first time, complete the following steps to upload unpaid invoices in Oracle NetSuite to Auditoria before you run the SmartFlow.
- Create an Email Template
- Create a Search Filter
- Create a Scheduled Workflow
- Execute Your Workflow and View Results
- Suspend the Workflow (after completion)
1 - Create an Email Template
- In Oracle NetSuite, go to Setup > Company > System Email Templates.
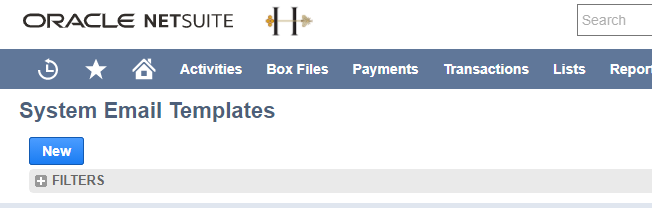
- Click New.
-
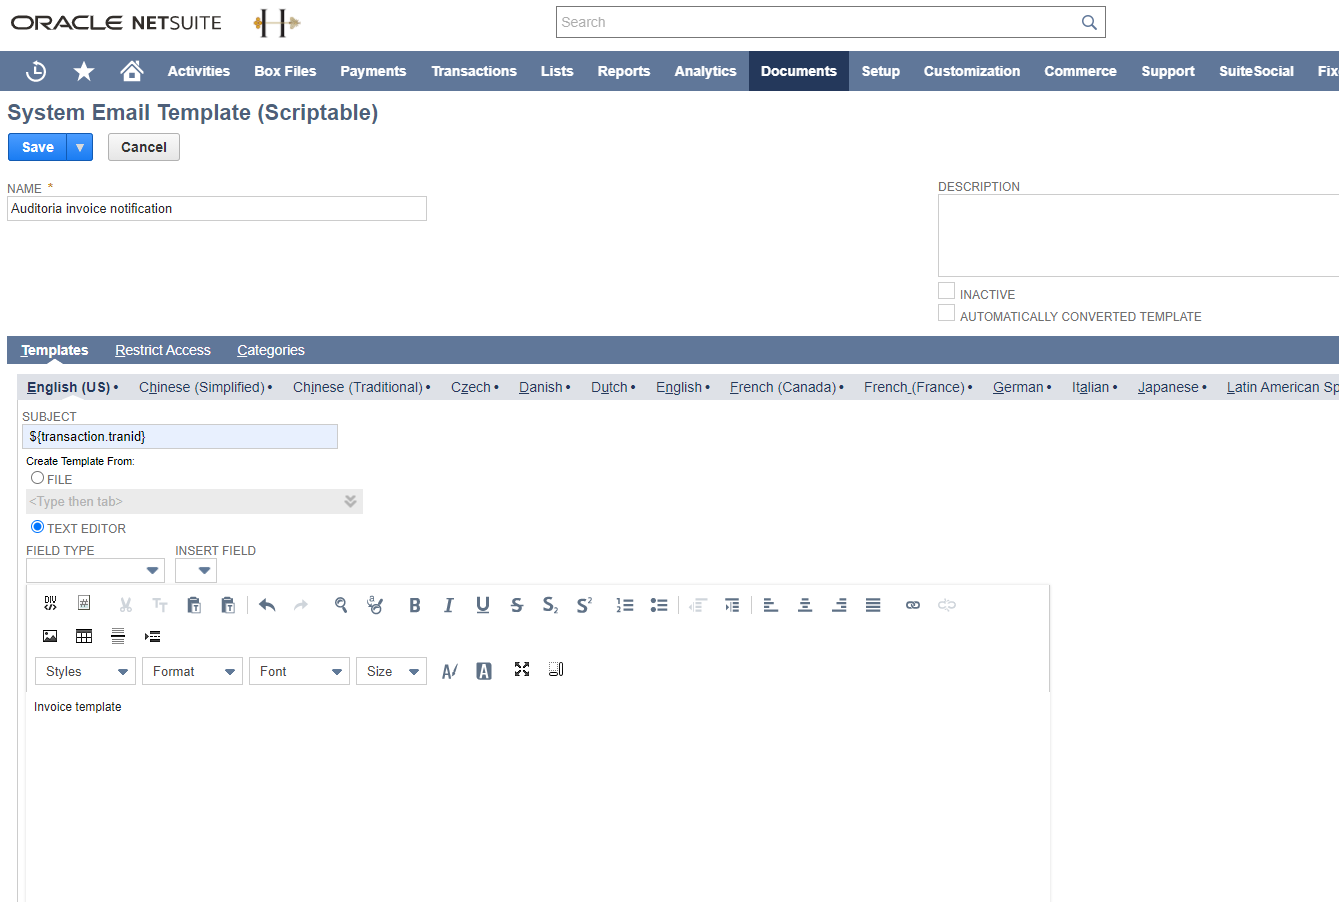
Enter the template Name, Subject, and Body.
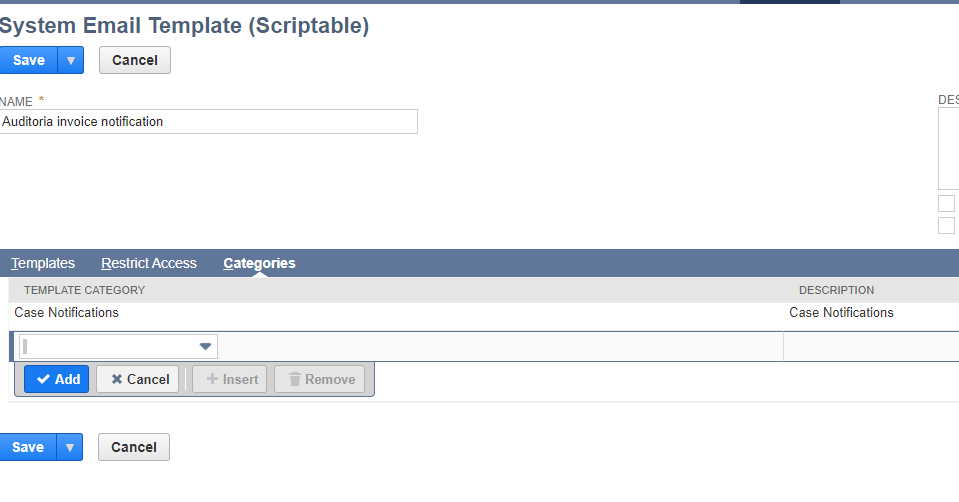
- In the Categories section, select a Template Category from the pulldown menu.
- Click Save.
2 - Create a Search Filter
- Log in to Oracle NetSuite with an Administrator account.
- Go to Transactions > Sales > Create Invoices > List.
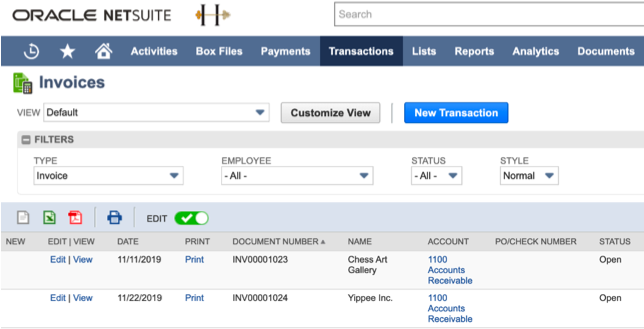
- Click Search.

- Click Create Saved Search.

- Enter the name of your search in the Search Title field.
- Select the Public and Available As A List View checkboxes.
- Select Main Line in the Type pulldown menu.
- In the Saved Transaction Search window, select Yes and click Set.
- Create a search filter to select all invoices that need an invoice PDF. One method is to select Date Created in the Type pulldown menu.
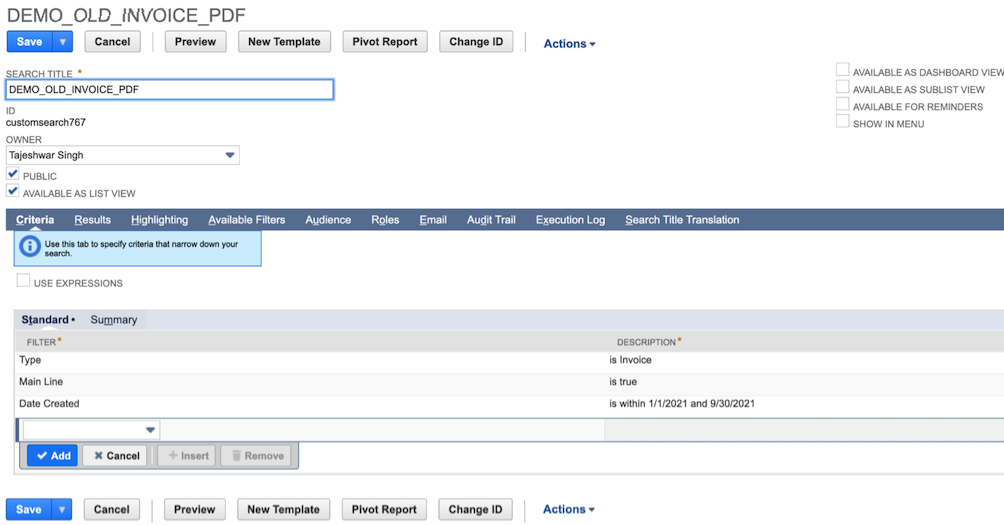
- In the Saved Transaction Search window, enter the dates for your saved search and click Set.
- In the Saved Transaction Search page, page click Save.
- In the Saved Searches page, go to your saved search and click View to confirm the details of your search.
3 - Create a Scheduled Workflow
- In Oracle NetSuite, go to Customization > Workflows > New.

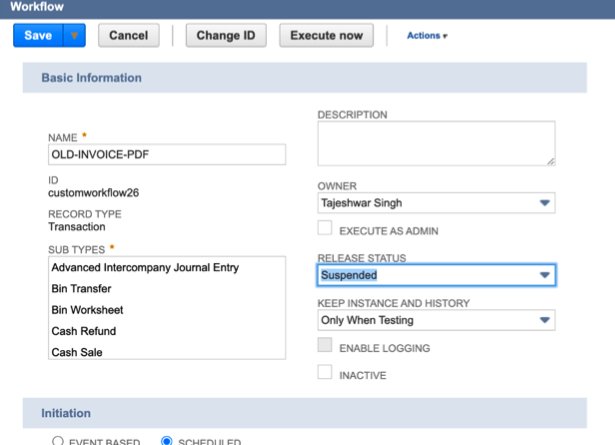
- In the Basic Information section, enter the following:
Name: Auditoria send invoices-
-
- ID: auditoria_send_invoices
- Record Type: Transaction
- Subtypes: Invoice
- Release Status: Select Testing from pulldown menu
-
-
- In the Initiation section, select the Scheduled checkbox.
- In the Schedule section, select your saved search in the Saved Search Filter pulldown menu.
- Deselect the Repeat checkbox if it is selected.
- Enter the Execution Date and Execution Time in the pulldown menus for each field.
- Click Save.
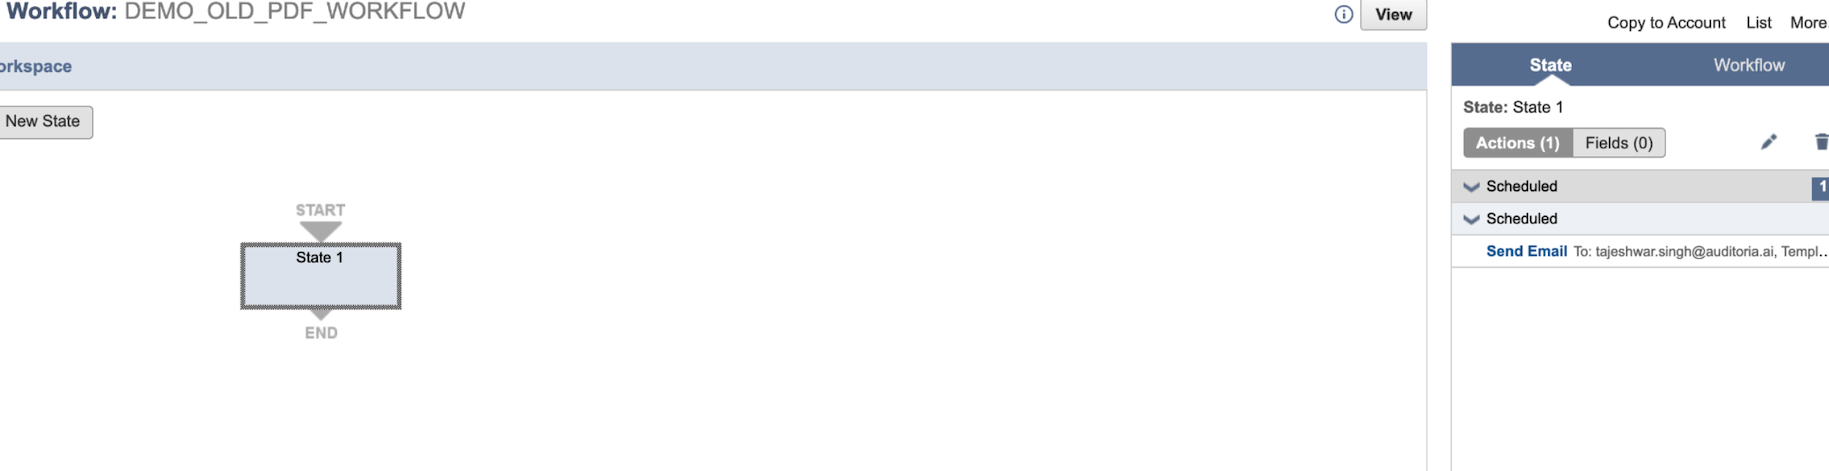
- In the Workflow page, click in the State 1 box.
- In the Workflow section, click the Edit icon.
- In the Workflow State window, click New Action.
- In the New Action window, click Send Email.
- In the Workflow Action window, select Scheduled from the Trigger On field pulldown menu.
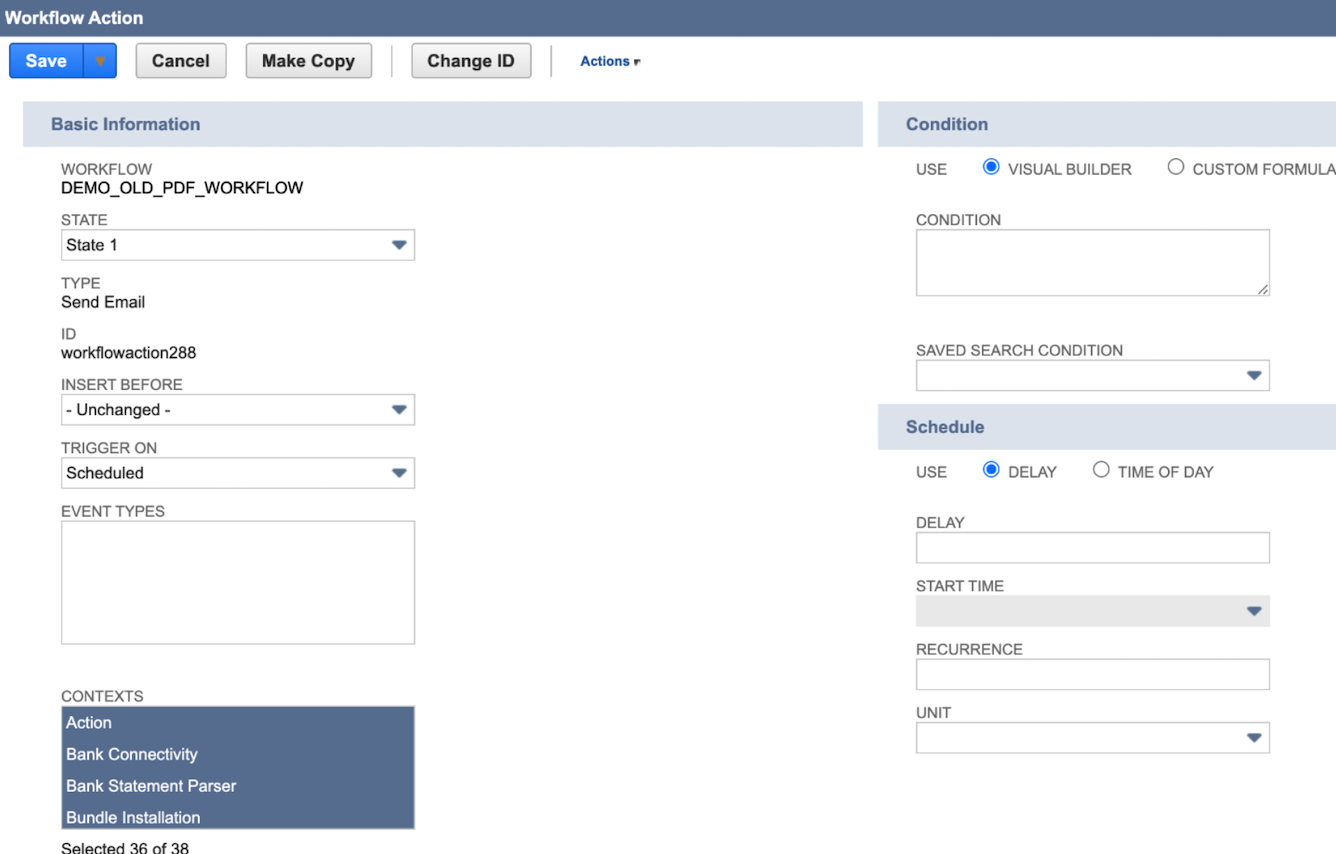
- In the Sender section, select the email sender from the Sender pulldown menu.
- In the Content section, click the Use Template checkbox and select the template name in the Template pulldown menu.
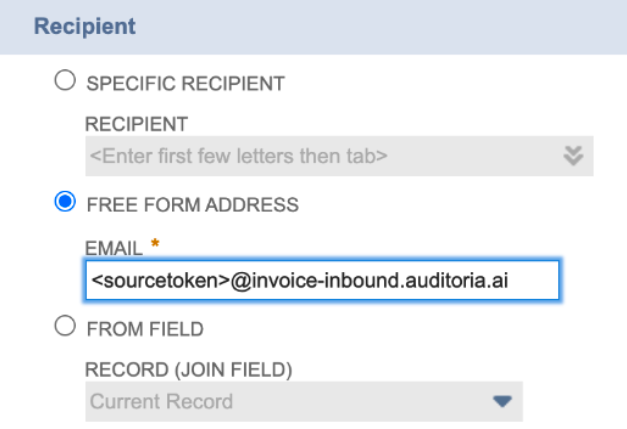
- In the Recipient section, click the Free Form Address checkbox and enter the Email address: <sourcetoken>@invoice-inbound.auditoria.ai
- In the Attachment section, select the Include Transaction checkbox and select PDF in the Type field.
- Click Save.
4 - Execute Your Workflow and View the Results
- In Oracle NetSuite, go to Customization > Workflows.
- In the Workflows page, find your new workflow in the Name column and click Edit.
- In the Workflow section, click Edit.
- In the Workflow page, click Execute Now. Your workflow has been started.
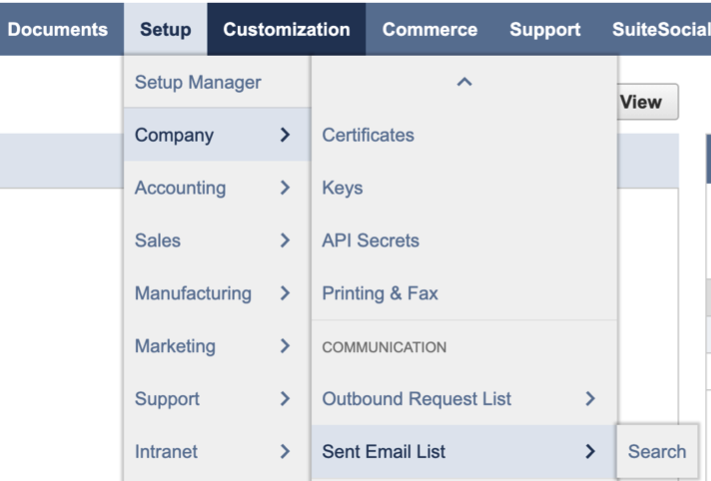
- To view the results of your workflow, go to Setup > Company > Sent Email List.
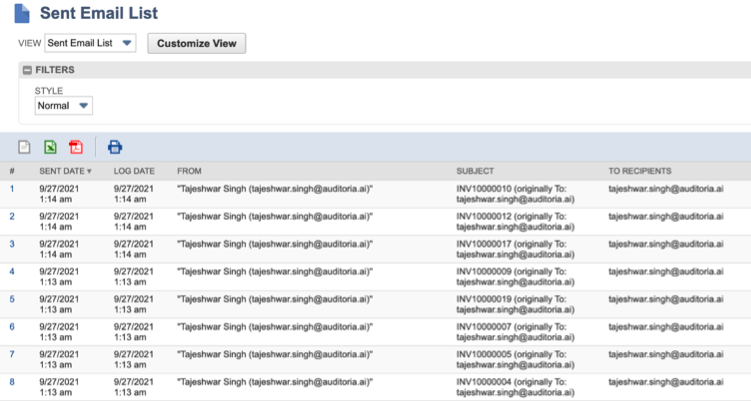
- In the Sent Email Page, the emails generated by your workflow appear with details about each email.
5 - Suspend your Workflow
- Go to Customization > Workflow > Search.
- In the Workflows page, find your workflow in the Name column and click Edit.
- In the Workflow section, click Edit.
- In the Basic Information section, select Suspended in the Release Status pulldown menu.
- Click Save. Your workflow is now Suspended.